
Information on configuring policies for agents running on Android devices is presented in this article.
The policy for Android agents provides the ability to configure email alerts, set scan times, enforce the use of passcodes, and manage access to WiFi networks.
Configure email alerts
The Email Scanning screen enables you to assign severity ratings to potentially harmful email addresses. When an email is received from a listed address, it is scanned for malicious content and treated according to the severity rating assigned to it.
To configure email scanning options:
- From Site Navigator, double-click the Android policy you want to configure.
- From the left pane of the Policy Properties screen, expand Email Alerts and click Scanning.
- To add emails to the list:
- From the right pane, click Add... to launch the Scanning Threat Detection Email Alert dialog.

- Key in the potentially harmful email address in the Email Address field.
- From the Severity drop-down menu, select one of the following options:
- Severe Risk
- High Risk
- Elevated Risk
- Moderate Risk
- Low Risk
- Click OK to close the dialog and return to the Email Scanning screen.
- From the right pane, click Add... to launch the Scanning Threat Detection Email Alert dialog.
- To edit ratings and/or email addresses, select an entry from the list and click Edit...
- To delete email addresses, select one or more addresses using Ctrl or Shift keys and click Remove.
- Click Apply and OK.
Configure scan schedules and events
Device Management settings enable you to protect your Android device by running security scans according to a schedule or when triggered by an event.

To configure device management options:
- From Site Navigator, double-click the Android policy you want to configure.
- From the left pane of the Policy Properties screen, click Android Device Management.
- To scan applications or removable storage devices, select Automatically scan apps after they are installed, and memory cards when connected to devices or disconnected from computers.
- To run scans according to a schedule, select Schedule Scans and choose from:
- Daily: run security scans everyday
- Weekly: run security scans on one day of the week.
- To troubleshoot problems coming from agents installed on Android devices, VIPRE Endpoint Security allows you to gather all the activity logs in one location as a single file. Select Archive agent event files to enable log collection. Storing this file is useful for debugging and recommended to be used only when working with Technical Support.
- Click Apply and OK.
Configure enforcement of device passcode
Device Passcode settings enable you to protect Android devices with an unlock passcode. From the Device Passcode screen, you can configure granular settings related to the passcode strength and complexity as well as other countermeasures that can prevent security breaches.

To configure Android device passcode settings:
- From Site Navigator, double-click the Android policy you want to configure.
- From the left pane of the Policy Properties screen, click Device Passcode.
- Configure the options described below:
- Require passcode on device: enables passcode protection
- Allow sequential or repeated characters in passcodes: allows users to input passcodes that contain repeated or sequential characters, such as 3333 and ABCD
Note! Using passcodes that contain repeated or sequential characters jeopardizes the security of your device. Such passcodes are easier to hack than complex passcodes, which normally contain a mixture of random alphanumeric and non-alphanumeric characters.
- Require alphanumeric value: forces device owners to use passwords that consists of alphabetical and numerical characters
- Minimum passcode length: key in the minimum number of characters the passcode must contain
- Minimum number of non-alphanumeric characters: key in the number of non-alphanumeric characters the passcode must contain. Non-alphanumeric characters include (but not limited to) !, $, %, ^, &, *, (, ),@, #
- Maximum passcode age: specify the number of days that a passcode is valid for. When the password expires, the user is automatically asked to key in a new one
- Maximum failed attempts before wiping all information from the device: deletes all the information on the iOS device, when the specified number of failed attempts is reached.
- Click Apply and OK.
Configure Wi-Fi networks
The Wi-Fi Networks screen is used to manage wireless networks accessible by Android devices that are managed by the Android security policy.
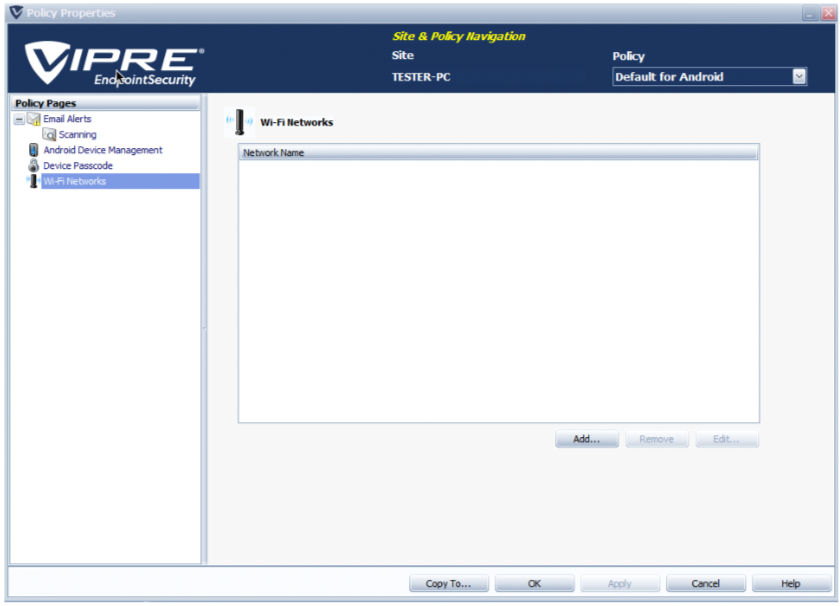
To configure Wi-Fi networks settings:
- From Site Navigator, double-click the Android policy you want to configure.
- From the left pane of the Policy Properties screen, click Wi-Fi Networks.
- Click Add... to launch the Configure Wi-Fi dialog and add wireless networks to the list.

- Configure the following options for each wireless network you want to add:
- Wi-Fi Network Name (SSID): key in the network name/SSID
- Connect automatically: automatically connect devices to the network when it is in range
- Network is hidden: specifies that the Wi-Fi Network Name (SSID) configured is hidden from broadcast
- Security Type: select the password encryption type of the wireless network you are adding
- Password: key in the password used to gain access to the wireless network
- Use proxy: if the wireless network you are adding routes web requests through a proxy server, select this option and click Configure Proxy..., to specify the proxy server address, port and optionally, authentication credentials.
- Click OK to close the dialog and return to the Wi-Fi Networks screen.
- To edit network settings, select the network and click Edit...
- To delete networks, select one or more networks using Ctrl or Shift keys and click Remove.
- Click Apply and OK.