
Install instructions for both beta versions and release candidate versions of the VIPRE Plugin.
To add the VIPRE Plugin to ConnectWise Automate, you must first install the VIPRE Plugin from the ConnectWise Solution Center, which is launched from the Control Center.
Note: The Control Center must be started as an Administrator in order to open the Solution Center.
Install the VIPRE Plugin from the Solution Center
First, we install the VIPRE Plugin from the cloud-based Solution Center, which copies the content of the plugin to your system.
- Right-click on the ConnectWise Control Center / LabTech Control Center shortcut and choose Run as administrator. Login with your credentials

- From the Control Center, click Tools > Solution Center. The Solution Center will launch
- In the Solution Center search box, search for VIPRE
- Hover over the VIPRE 3.0 item and click Queue. This adds the plugin to the Solution Center download queue
- In the top left of the Solution Center, click on the Solutions in Queue list to view your queued installs. Then, click Install/Update. The Solution Center displays a notice that "Local Changes" will be overwritten
- (Optional) Select Backup local database before update
- Click Yes to continue the install.
Enable the VIPRE Plugin in the Control Center
Now that the VIPRE Plugin is installed and copied to your system, you must enable it.
- From the ConnectWise Control Center, open the Plugin Manager
- Version 12: select System > Solutions > Plugin Manager
- Version 11: select Help > Plugin Manager
- Right-click the VIPRE for LabTech plugin and choose Enable
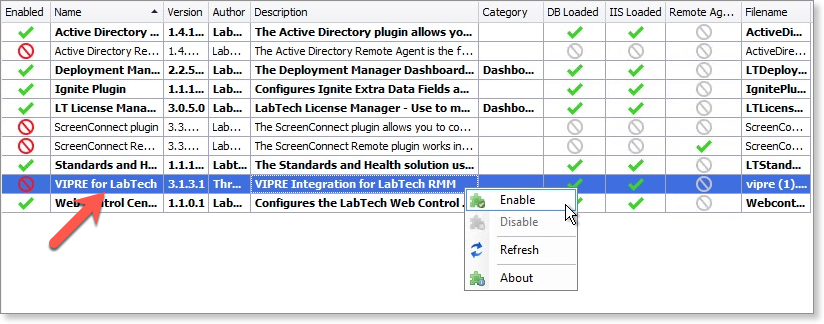
- The system asks "Would you like to restart the database agent now?". Select Yes to allow the new plugin to load

Once the database agent is restarted, the VIPRE Plugin shows as enabled in the Plugin Manager.