Exclusions are lists of items such as files, domains, and processes that VIPRE should ignore; in essence, telling VIPRE what not to scan.

Certain types of software can be impacted by antivirus programs. Some software may experience strange behavior. For example, processes may be blocked by the antivirus programs based on behavior traits exhibited by the software; file lock contention may occur during scans; and so on. This is especially common with certain categories of software such as server software, databases, data backup, key loggers, and more that either require exclusive access to specific files or that use files that, although benign, contain patterns that antivirus software sees as suspicious.
How Exclusions Work
Exclusions are communicated from VIPRE to the agents as part of the policy. As the agents protect your devices, the exclusions are applied.
VIPRE provides an initial set of exclusions that is applied to all devices for resources that we know to be potential issues. Our own virus definition files, for example, would lead VIPRE to believe it had found malware if it were not excluded.
Administrators can create custom exclusions to accommodate the specific needs of their organization. Exclusions are defined in an exclusion list. That list is then associated to one or more policies (scope=policy). Alternatively, a list may be associated to all devices (scope=site).
Exclusion lists provide the flexibility to define exclusions once, and apply them to as many policies as required.

What to Exclude
Knowing what needs to be excluded from antivirus is not always intuitive. Sometimes VIPRE will tell you it blocked a process or quarantined a file that you know to be benign; in this case you can simply add that program or file to the exclusion list. In other cases, however, software may not work correctly for non-obvious reasons.
When first deploying, consider the following
- test - deploy to a group of test devices for your environment
- monitor - perform normal activity on the test systems to determine if VIPRE blocks or impacts application behavior - you may need to disable VIPRE to determine if it is the cause of any observed odd behavior
- research - look for vendor recommendations for third-party software used in your organization. Some vendors maintain a specific list of resources to exclude for antivirus programs. For example, Microsoft maintains a Microsoft Anti-Virus Exclusion List for their software.
Predefined and Custom Exclusions
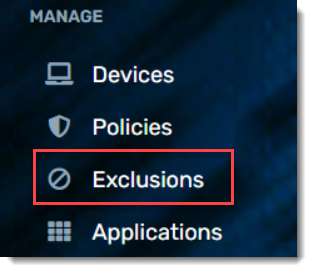
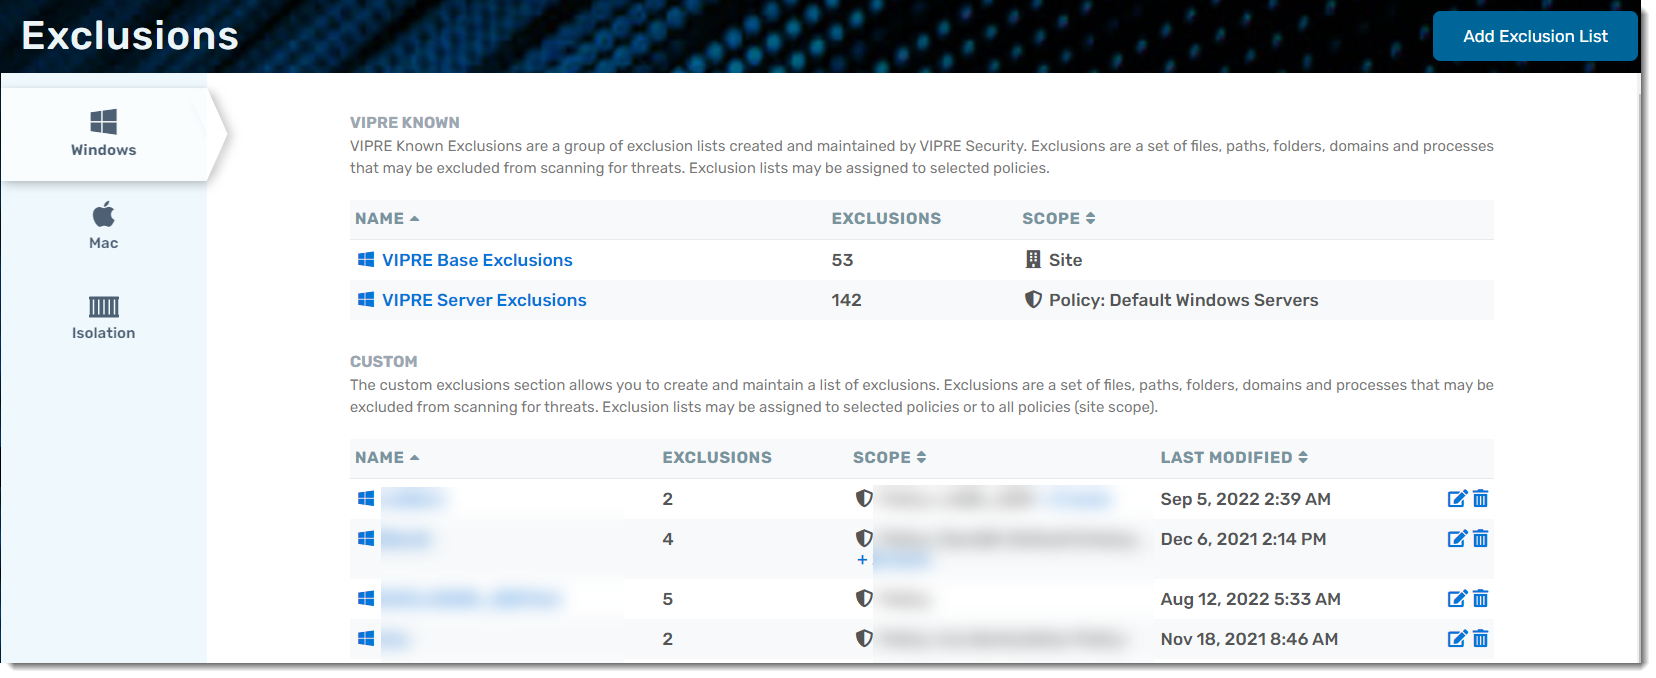
Exclusions are viewed and managed from the Exclusions page. Custom lists can be created for Windows and Mac policies. For Windows based policies, a VIPRE Known list is provided.
- VIPRE Known - read-only exclusions for Windows OS that come with VIPRE, curated by the VIPRE Team. VIPRE manages both the default VIPRE Base Exclusions and VIPRE Server Exclusions lists. We push out additions to these exclusions that work across our entire customer base.
- Custom - any lists of exclusions that you create
Your instance of VIPRE EDR comes with VIPRE Base Exclusions, which applies to all of your Windows devices. Additionally, VIPRE Server Exclusions is automatically assigned to Windows Servers (through the Windows Servers policy, one of the default policies included with VIPRE Cloud).
As suggested in this article, the need to create custom exclusions is common practice when using antivirus software. When adding exclusions, be sure to follow your vendors' specific recommendations. Note however that excluding resources at a higher level than what is recommended can be a security exposure. For example, do not exclude items at the directory, or folder, level when the vendor lists specific files in the folder.
Adding Custom Exclusions
- Click Add Exclusion List in the top right corner
- Name your custom exclusion list and click Next
Once you're in the custom exclusion list, now you can create exclusions.
- Click +Add Exclusion at the top-right corner of the screen
- Select one of five exclusion types:
- File: Choose a Subtype (Filename, Filepath, or Folder), and add Value (see example in text box)
- Domain: Add Value (see example in text box)
- Process: Add Value (see example in text box)
- Hash: Add Value (see example in text box)
-
Device: Choose to exclude device by Type or Specific Type
- If you've chosen Type:
- Select the desired category (CD/DVD or Removable drives)
- Select the desired Bus (Any, ATA IDE, Firewire, SCSI, USB, PCMCIA)
- If you've chosen Specific Type:
- Select the desired category (CD/DVD or Removable drives)
- Add value to Hardware ID (see example in text box)
- Add value to Serial ID (see example in text box)
- If you've chosen Type:
Hardware ID and Serial ID details can be copied from the Device Control Report and pasted here to add an exclusion for a specific device. This is helpful when you've set a broad Device Control policy to block all removable drives but still require at least one particular endpoint to access USB Flash drives.
- Click Add
Manage Exclusions:
Within the custom exclusion list, you can select the exclusion category type from the side navigation menu. Find the desired exclusion and select the Modify or Delete icons.
You can also the scope of your exclusion list by selecting Scope > Site or Policy.
