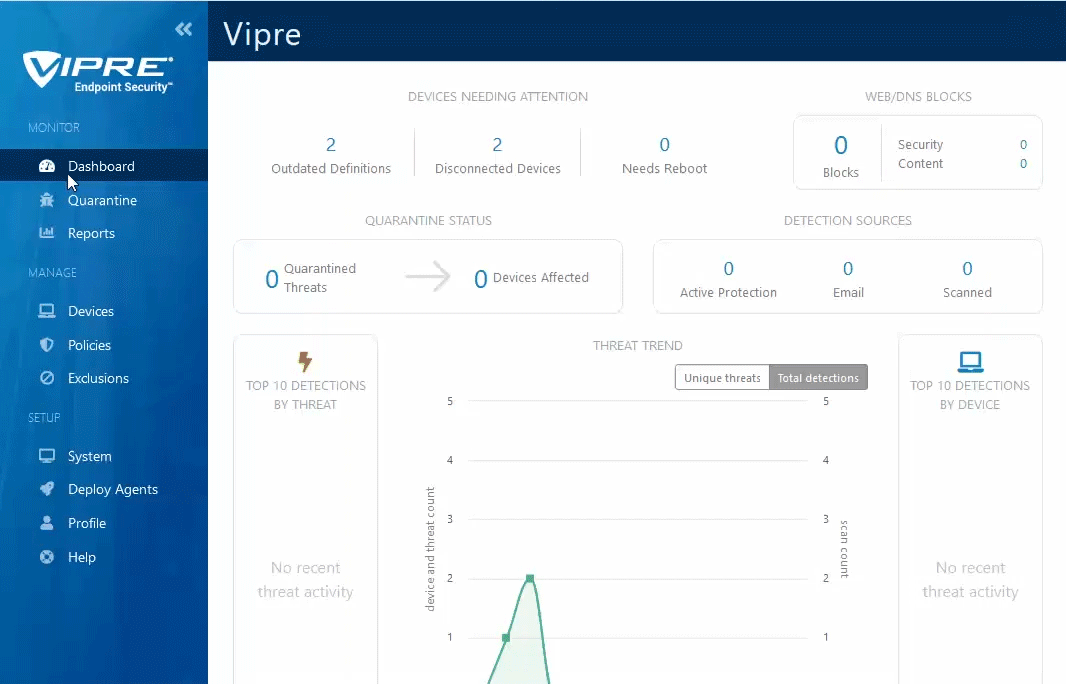
Web/DNS Protection is a single tab within VIPRE Endpoint Security Cloud that allows you to have even more control by filtering DNS traffic and automatically blocking known malicious content. Here we'll walk you through how to work within each section.
The Web/DNS tab within VIPRE Endpoint Cloud includes DNS Protection, Web Protection, Logging & Interaction.
Enable DNS Protection
With DNS Protection, whenever any program on your computer needs to look up a hostname, VIPRE intercepts the request to make sure it's safe. Here we walk you through enabling this feature.
In VIPRE Endpoint Security Cloud:
- From the Endpoint Security Cloud console, click on Policies and select the appropriate policy from the main window
- Choose Web/DNS Protection from the second left-side menu
- In the main window, click the checkbox next to Enable DNS Traffic Filtering
- This feature only works on endpoints that have been updated to use VIPRE Agent v12.
- Click Save at the top right of the screen
DNS Protection has been enabled! Refer to Related Articles to learn more about DNS and how VIPRE DNS Protection works to keep you safe.
Enable Malicious URL & Content Blocking
VIPRE Endpoint Security Cloud can block access to specific URLs by checking all visited URLs against a cloud-based global threat intelligence network that is updated to the minute with the latest list of known bad URLs.
- From the Endpoint Security Cloud Console, click on Policies and select the appropriate policy from the main window
- Choose Web/DNS Protection from the second left-side menu
- In the main window, click the checkbox next to Enable Malicious URL Blocking for HTTP Traffic
- Ports 80 and 8080 are added by default; Port 80 cannot be removed to ensure HTTP requests are filtered for bad URLs
- Endpoints running VIPRE Agent v11 or older: Specify destination ports for which network traffic will be examined
- Endpoints running VIPRE Agent v12 or later: All HTTP traffic is automatically detected and inspected
- Click the checkbox next to Enable Malicious URL Blocking for HTTPS Traffic to use browser extensions to analyze decrypted traffic
- This feature only works on endpoints that have been updated to use VIPRE Agent v12.
- Select your desired browser to automatically deploy the appropriate browser extension to any endpoint where that browser is installed
- Currently, browser extensions for Google Chrome, Mozilla Firefox, and Microsoft Edge are supported (see latest release notes for the latest versions supported)
- Click the checkbox next to Enable Content Blocking to analyze web traffic and block any malicious code within the webpage
- This feature only works on endpoints that have been updated to use VIPRE Agent v12.
- Click Save at the top right of the screen
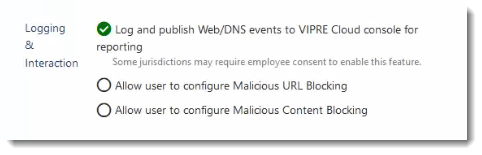
Logging & Interaction
The Web/DNS Protection tab in VIPRE Endpoint Security Cloud allows you to configure whether Web and DNS activity is logged and whether or not you want to allow your end-users access to self-configure protection features.
- From the Endpoint Security Cloud console, click on Policies and select the appropriate policy from the main window
- Choose Web/DNS Protection from the second left-side menu
- In the main window, scroll down to Logging & Interaction
- Select from the following options:
-
Log and Publish Web/DNS events to VIPRE Cloud console for reporting
- If this is enabled, all blocked attempts to visit domains or URLs will be sent to the VIPRE Console and reported allowing examination of patterns to determine accidental or intentional misuse/abuse of the system
- Please note, this setting could record potentially sensitive user actions on the endpoint so end-user notification or consent may be needed; check your organization's policies and any applicable regulations for details
-
Allow user to configure Malicious URL Blocking
- This allows the Malicious URL Blocking feature to be enabled/disabled at the agent level
-
Allow user to configure Malicious Content Blocking
- This allows the Malicious URL Blocking feature to be enabled/disabled at the agent level
-
Log and Publish Web/DNS events to VIPRE Cloud console for reporting
- Click Save at the top right of the screen