
You can customize the look and feel of the VIPRE SafeSend web add-in by uploading your organization's personalized logo. This optional step is a great way to integrate SafeSend with your organization seamlessly.
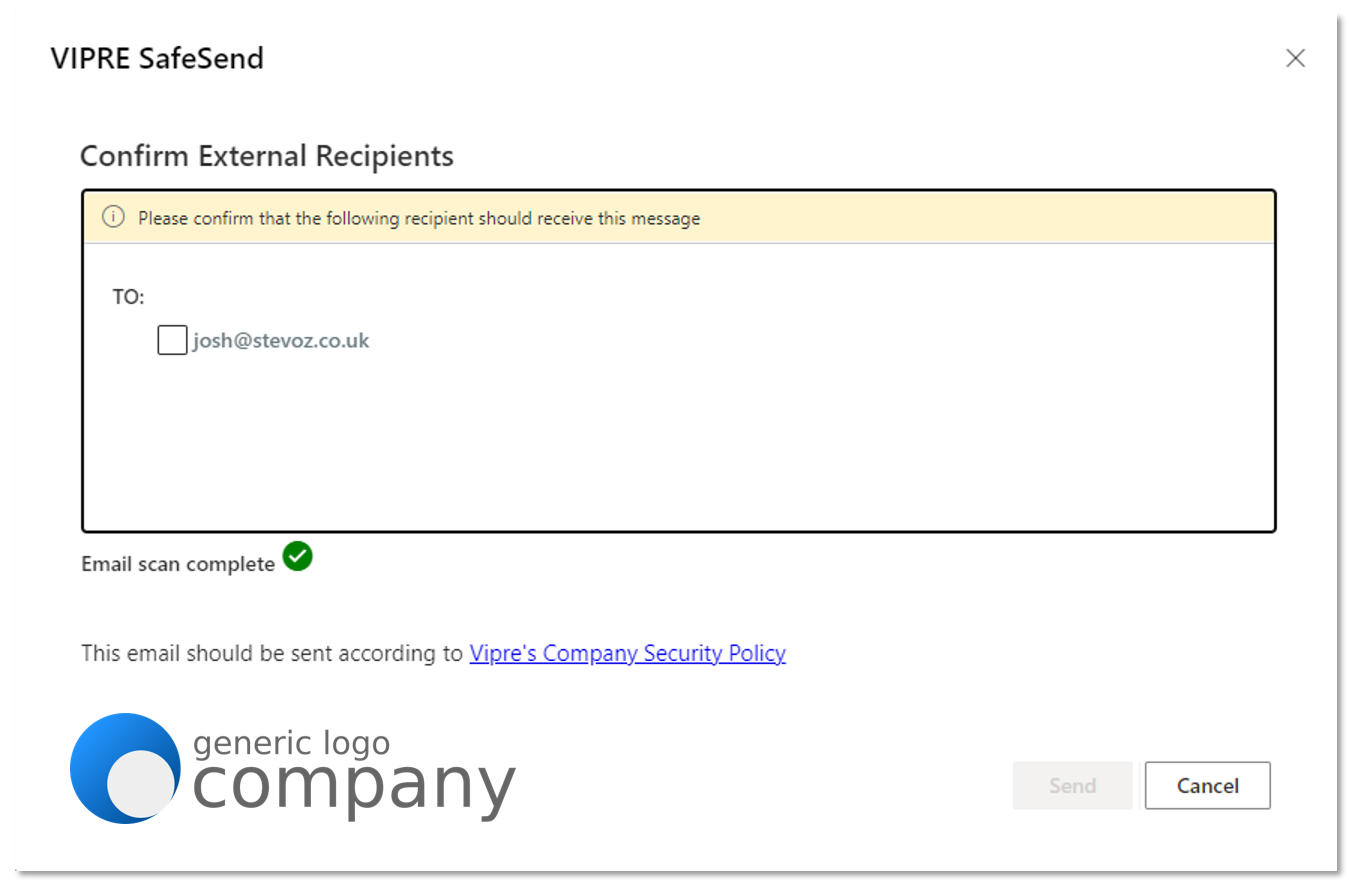
Image Requirements
Before uploading your logo, make sure it meets the following requirements:
- Image size must be no larger than 155x40
- Image type must be .png file type
- Images with transparent backgrounds are recommended so that your logo matches the rest of SafeSend.
Now that you have an image that meets the above requirements, let's upload it.
Add Logo
Change the following setting to change your logo in Azure or IIS:
| Setting | Description |
|---|---|
| LogoFilePath |
File path of .png file to use for confirmation logo. Overrides Logo setting if defined. This may be an absolute or relative path. The path must be accessible from within the context that the web addin is running and should be json escaped if it contains json characters. I.E. "C:\\logo.png"
"LogoFilePath": "logo.png", |
Click here for Azure instructions
When using the LogoFilePath setting, please note the path must be accessible from within the context of the Web Add-in.
- Upload your logo to your SafeSend site by completing the following:
- Copy your logo to a local copy of the SafeSend Web Add-in package directory and create a new .zip package
- Use the FTP client of your choosing to upload your logo to the SafeSend Web Add-in package directory on your SafeSend site
- In Azure, go to the SafeSend web app you previously created
- On the left-side menu, under Settings, click Configuration
- Select +New Application
- Add new setting LogoFilePath using the following syntax: "LogoFilePath": "logo.png", with logo.png as the image name and extension of the logo image you uploaded in Step 1
- Click OK
- Click Save
- Click Continue
Allow a few minutes after the service restarts for the changes to appear.
Click here for IIS instructions
When using the LogoFilePath setting, please note the path must be accessible from within the context of the Web Add-in.
- Open settings.json with administrative privileges using the text editor of your choosing
- Locate //"LogoFilePath": "",
- Remove the // at the beginning of the line and add the image name and extension of your logo image
- Example: "LogoFilePath": "logo.png",
- Save your changes and restart the SafeSend site
Allow a few minutes after the service restarts for the changes to appear.
Congratulations! Now, your logo is part of SafeSend.