
Product release information for VIPRE Email Cloud Beta on May 19, 2022.
What's New
VIPRE is excited to announce that we have been working on adding more options for our Reseller partners and are happy to present the addition of Advanced Policies.
Reseller-level Advanced Policies allow VIPRE partners to set custom mail rules that take priority over their customers' email policies. This might be useful for ensuring emails from your domain always make it through to your customers, regardless of any email rules they have set up.
Special Instructions
Let's set up an Advanced Policy with the example mentioned above - ensuring you, as the Reseller, can get emails from your domain through to your customers.
To set up Advanced Policies as a VIPRE Reseller:
- Log in to the VIPRE Email Security Cloud Reseller portal
- On the left-side menu, click Policies then select Advanced Policies
- Click Create Policy in the top-right corner
- Under Settings:
- Name your policy (this can be whatever you want but it's suggested to name it for the function of the policy)
- For this example, let's call it "InboundVIPRE"
- Applies to (select Incoming Messages or Outgoing Messages from the drop-down menu)
- Click the checkbox next to Enable
- Enabled for (select the appropriate option from the drop-down menu)
- For this example, we'll choose "Specified Domains", add vipre.com in the text box, and click Add
- Name your policy (this can be whatever you want but it's suggested to name it for the function of the policy)
- Under Rules:
- Select how you want to match the rules from the drop-down menu
- Next, select what you want to match based on which part of the email and what you want it to look for

- Under Actions:
- Select the appropriate action to take from the drop-down menu
- Bypass Spam Filtering - This option marks the email as not being spam; click + sign
-
Quarantine Message [STOP] - This option will quarantine the message and then stop running all policies after this one; Choose from the options below and click Add
- Choose the number of days you want to store quarantined messages for
- Select whether you want to allow user access to quarantined messages
- Select whether you do not want to quarantine messages if the sender is allowed
- If you want a summary of mail quarantined by this specific policy to be sent to specific email addresses, add them in the text box separated by a semi-colon
-
Set Message Header - This option sets the specified header, replacing existing headers of this type; Set the text you want to set as the message header and click Add
- This option must use the following format: <header name>:<header contents>
- Select the appropriate action to take from the drop-down menu
- At the bottom of the page, click Create Policy
How do I see which policy was used?
Advanced Policies created by you as the Reseller will override any conflicting policies created by your customer. You can tell which policy was used on an email by:
- On the left-side menu, click Message Logs
- On the right side of the screen, click on the cog icon
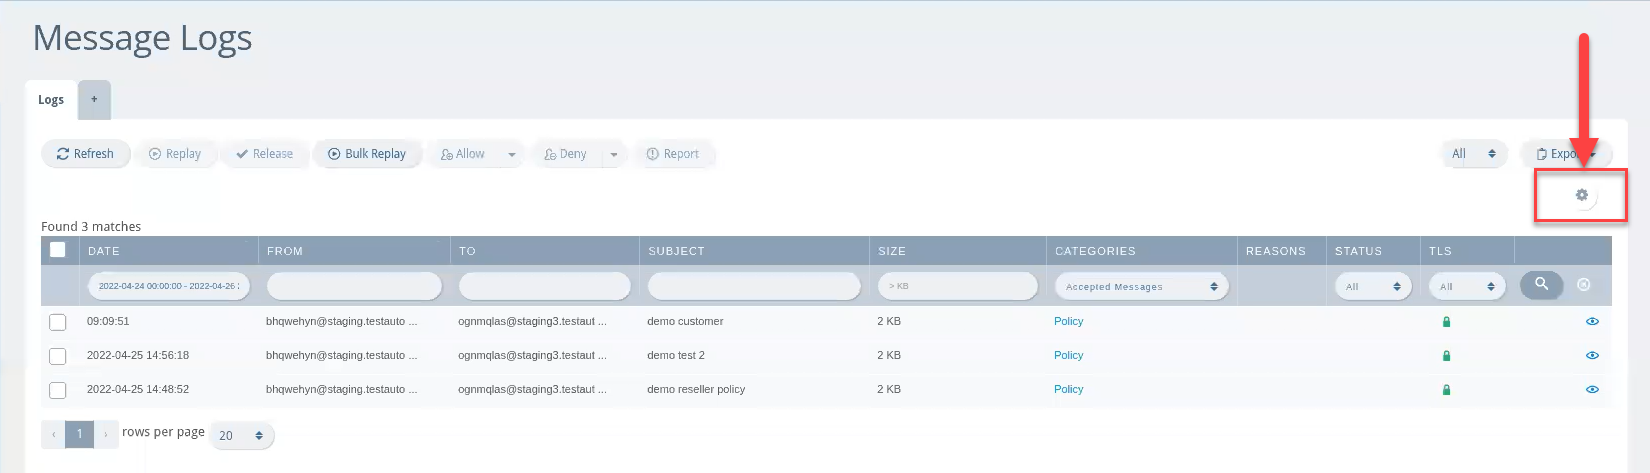
- You'll be able to select which columns of the table you want to see; click the checkbox next to Policies and the table will instantly refresh to show the policy used

VIPRE Beta Program
Your feedback as a beta tester is invaluable to the development process. Click the link below to sign up. Once you log in to the testing platform, we'll walk you through how to use it and how to test the features.
Join the VIPRE Email Security Cloud (Codename: Stone Werks) Beta