
Once you're logged into VIPRE Email Security Cloud as a Managed Service Provider, you can create a Customer Admin account which will be provided to the customer.
Note: This content is intended for Managed Service Providers only. If you have arrived at this page and are not an MSP, please see our main VIPRE Email Security - Cloud Edition content or visit the start page of the VIPRE Success Center.
Log in to VIPRE Email Security
Log in to https://email.myvipre.com using your credentials.
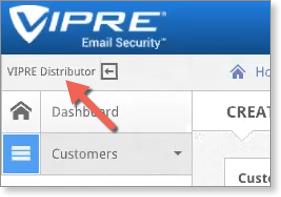
Once logging in, you should be at the VIPRE Distributor level.
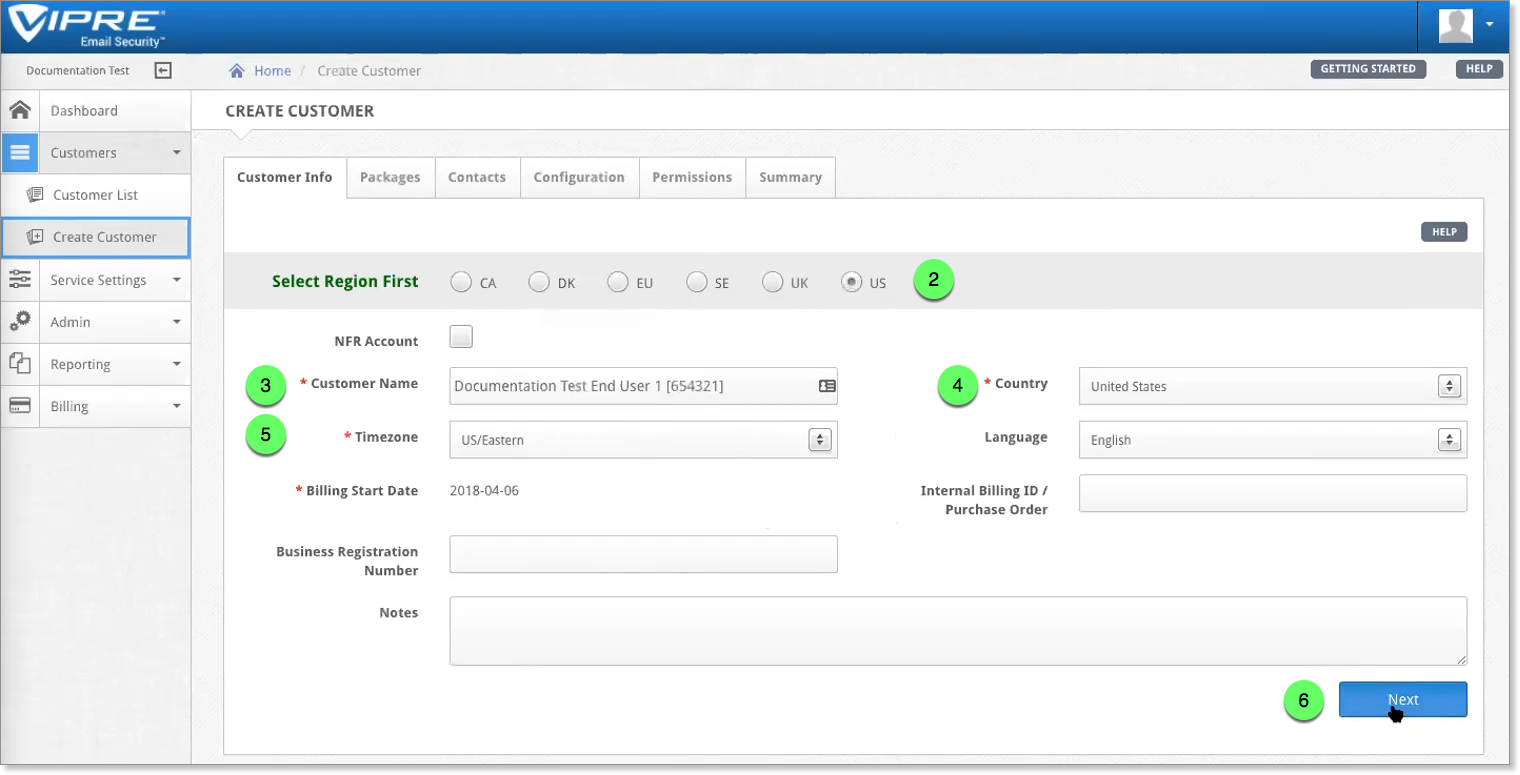
Customer Info
- From the main menu on the left, select the Customers tab to expand it. Then, select Create Customer
- Select the customer Region
⚠️ Note: The default region is set to UK. You must manually select your region if you are in
Once you save this information, it cannot be changed; please double check your settings before proceeding. |
- Fill in the Customer Name
- Select the Country
- Select the Timezone
- Select Next
Packages tab
- Select your package(s) by clicking the Select button next to the product name
- Select Next
Contacts tab
- Fill out the customer address. All other fields remain as the default options.
- Select Next
Configuration tab
- Fill out the following options:
- Domain - Enter the customer's domain in the Domain field and select Add
- Verify Users - Select via User List/LDAP
- Server - Enter the customer's destination mail server IP address
- Route - Enter the source mail server IP address. This is typically the same IP address as the Server, above.
- Select Next
Permissions tab
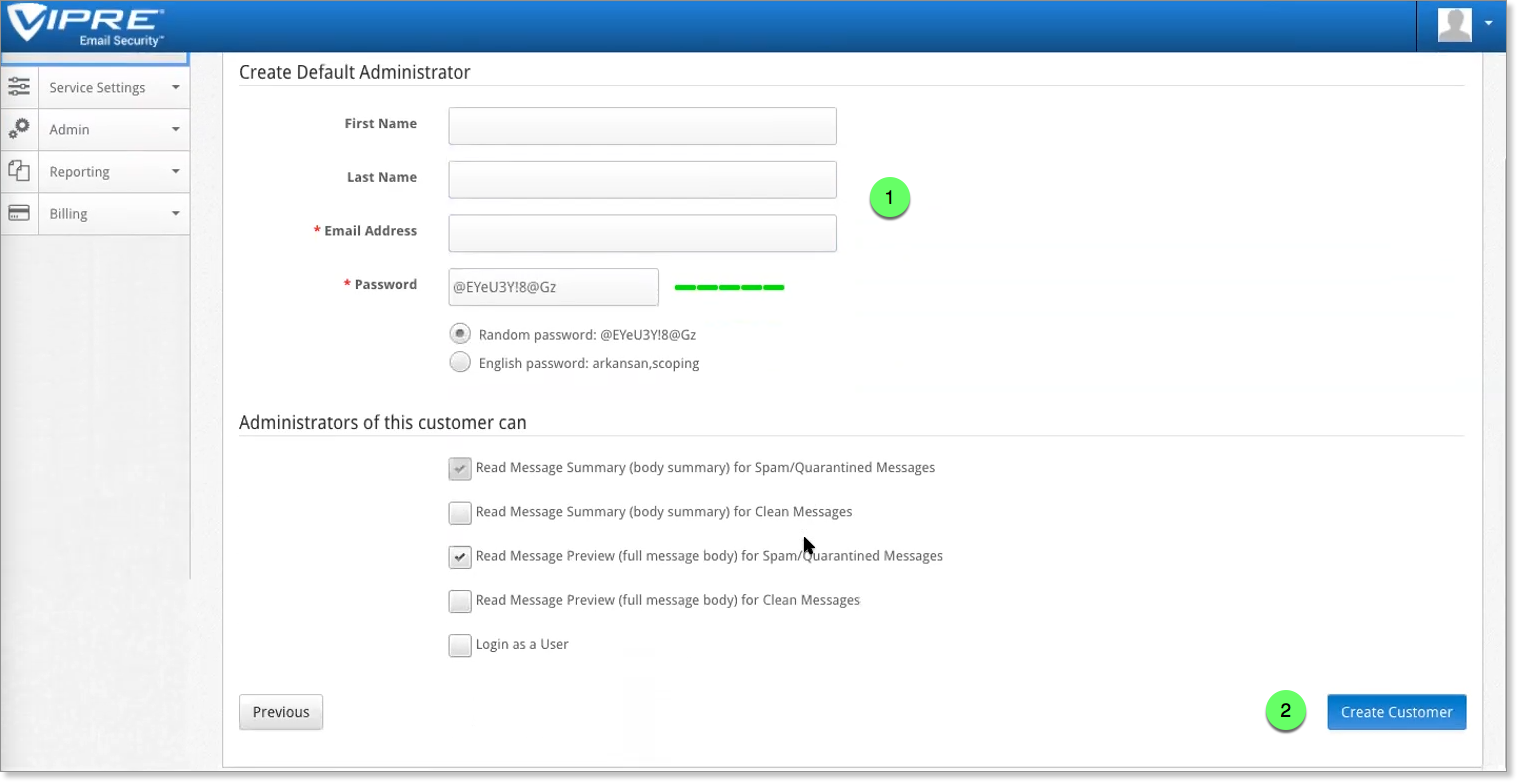
Every customer has to have a Default Administrator, even if it is never used.
- Fill out the following options:
- First Name - Administrator's first name
- Last Name - Administrator's last name
- Email Address - Administrator's email address
- Password - Select Random password
- Select Create Customer
- Review the on-screen information, and select Complete to finish.
Complete
Now we see that under the [ 1 ] Reseller Account (Documentation Test, in this example), we have the [ 2 ] End User Customer created.
At this point, selecting the [ 2 ] End User Customer allows us to navigate into the customer account and review their settings:
The end user customer settings are a blank slate when we first create the customer.