
Migrating from VIPRE Small Office is a simple process. This guide takes you through the migration from VIPRE Small Office to VIPRE Cloud.
The naming convention of VIPRE Small Office refers to any of the following products: VIPRE Antivirus Small Office, VIPRE Internet Security Small Office, or VIPRE Internet Security Pro Small Office.
VIPRE Small Office vs VIPRE Endpoint Security Cloud
VIPRE Cloud works a bit differently than VIPRE Small Office. In this article, we explain some of the key differences.
Control VIPRE on all of your office computers
VIPRE Small Office protects your office computers using a separate copy of VIPRE that is installed on each computer. Each of these VIPRE installs (called Agents) run independently of each other; they are not connected in any way, and the users of each computer can run VIPRE and customize their experience however they wish.
Previously, if you wanted to change how VIPRE was working throughout your office, you'd have to go to each computer and make the change (or ask your employees to do it). With VIPRE Cloud, you now have control over all your office computers that run VIPRE from a single website console. Using this console, you can group computers together to tell VIPRE how to act for those groups. Each group is called a "policy".
This means that from a single web interface, you can adjust
- Scans - What kinds of scans are run, what time they happen, etc.
- Email - Whether to scan incoming email to remove malicious attachments and stop links to bad websites
- Firewall - Block port scans, handle specific applications, and log any suspicious network activity
- User settings - Control how much each user can change their own VIPRE settings, scan times, and what parts of VIPRE they can see
- Notification alerts - You can get email alerts when any of your computers detects suspicious activity or malware, and deal with it from a single location
- Scheduled digests - Similarly, you can receive weekly digest emails summarizing all of the VIPRE activity that has occurred on each office computer
Additionally, your web interface (called the Dashboard) features rich, at-a-glance data that shows you exactly what is happening with your office security across all your computers.
This is the VIPRE Cloud Dashboard:.png)
What are policies?
Policies are groups of computers that share the same VIPRE settings (scan times, firewall settings, and so forth). By grouping computers by policy, you can control all of your policies through a single console. Policies are a very powerful feature of VIPRE.
From the get-go, VIPRE has two policies set up for you automatically (Default Enterprise and Default Server). Policies have lot of options and settings you can adjust. That said, our VIPRE team has set up things so that in most cases, you don't need to make many (if any) changes to your default policies - changing things is optional.
-
Next Step
- Add Button
Uninstall VIPRE Small Office
On each endpoint system with VIPRE Small Office installed:
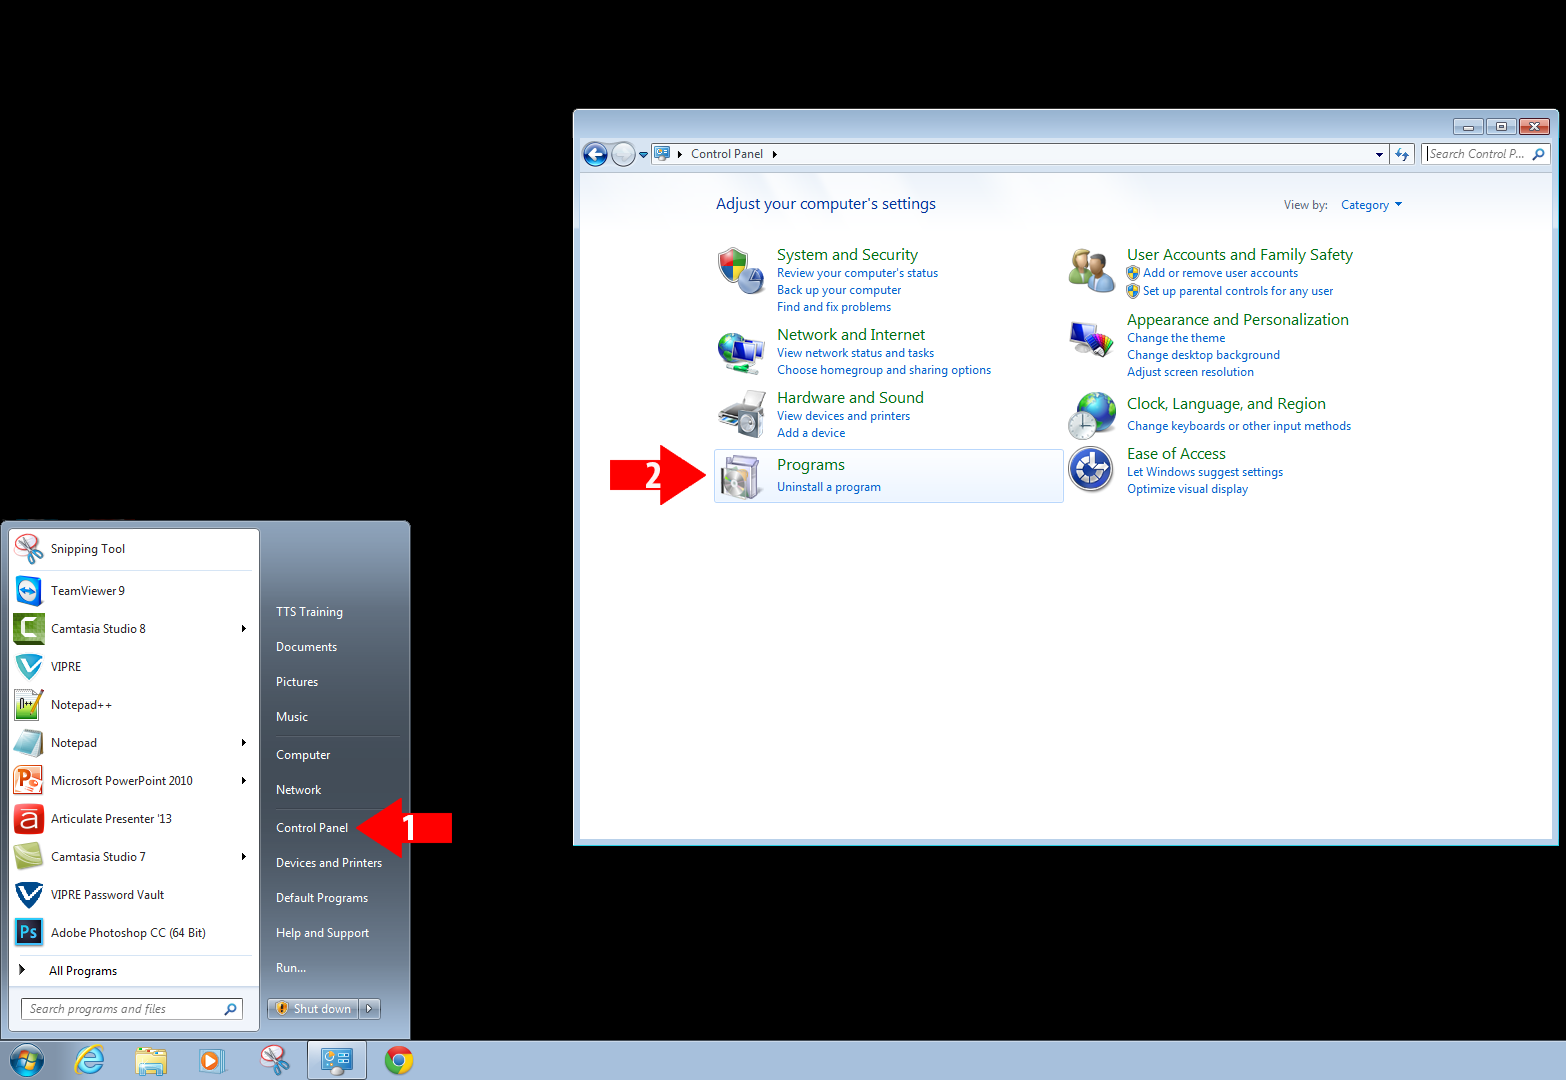
- Open the Control Panel
- Windows XP/Vista/7: Click Start > Control Panel
- Windows 8/8.1: From the tiles screen, type "Control", even if you don't have a search box. The search will open automatically. Then, choose the Control Panel option
- Windows 10 - From the search bar on the bottom left of the screen, type "Control" and a search will come up as you are typing. Click the Control Panel option.
- Choose the Uninstall a Program, or Programs and Features option. In Windows XP, this will be called Add or Remove Programs
- A list of programs should be displayed. Find VIPRE and click Uninstall/Change or Change/Remove to begin the uninstall process.

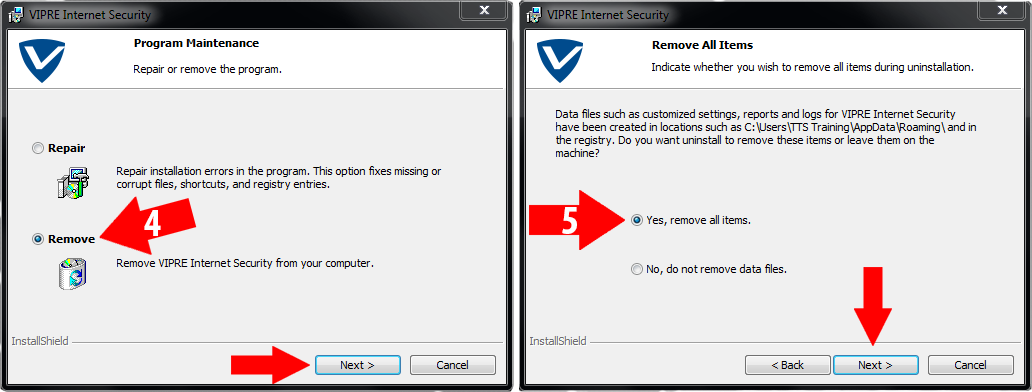
- A prompt will appear asking to Remove or Repair VIPRE. Choose Remove
- The next prompt will ask to keep or remove data files. Choose "Yes, remove all items, then click Next.
- Click Remove to begin the removal process. This may take several minutes.
- After the removal process, click Finish then restart the computer if prompted.
If you're unable to uninstall VIPRE from the Control Panel, see How to manually uninstall VIPRE Home or Contact Support for further assistance.
-
Next Step
- Add Button
Set up your site
Provisioning your VIPRE Cloud site is a very streamlined process. Essentially, you click on a custom link we send you, type in a few key details, and you're up and running. We'll walk you through the process, but if you run into trouble there are additional troubleshooting steps at the end of this article.
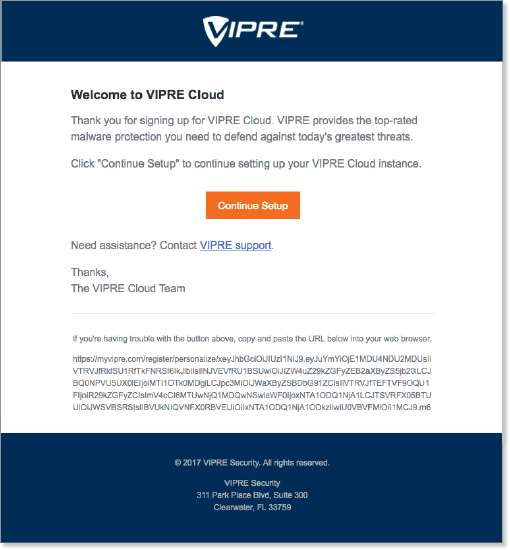
Step 1: The Welcome to VIPRE Cloud email
When you purchase or sign up for a trial of VIPRE Cloud, you'll receive a Welcome to VIPRE Cloud email. This email contains a personalized link that takes you through simple steps to set up your site.
If you don't receive a Welcome email, check out the tips in the Troubleshooting section at the bottom of this page.
- Open the Welcome to VIPRE Cloud email, and select Continue Setup
-
Note: Validating any links sent to you in email is always a good idea, as bad actors could replace them with links to malicious sites. For this reason, we've included the full link you'll be visiting at the bottom of the Welcome email. You can and should validate that these links match and that they point to the myvipre.com domain.
- You’ll be taken to the Personalize Your VIPRE Cloud page
Step 2: Provision your VIPRE Cloud instance
By entering a few key details, your site will be provisioned and functional in seconds.
The site name you choose here will become your VIPRE Cloud site name, prepended to myvipre.com, e.g. 'acme.myvipre.com.' We recommend you use your company's name. The name you select must be unique; the widget will notify you if the name you enter is already in use.
On the Personalize Your VIPRE Cloud screen
- Enter the site name for your VIPRE Cloud instance
- Enter your First and Last name and create a password for your administrator account
- Make sure the I Accept the End User License Agreement box is checked
- Select Create my VIPRE site
- When done, you'll see a success message like this:
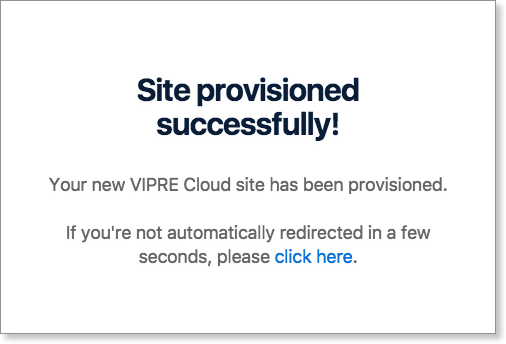
Step 3: You're done!
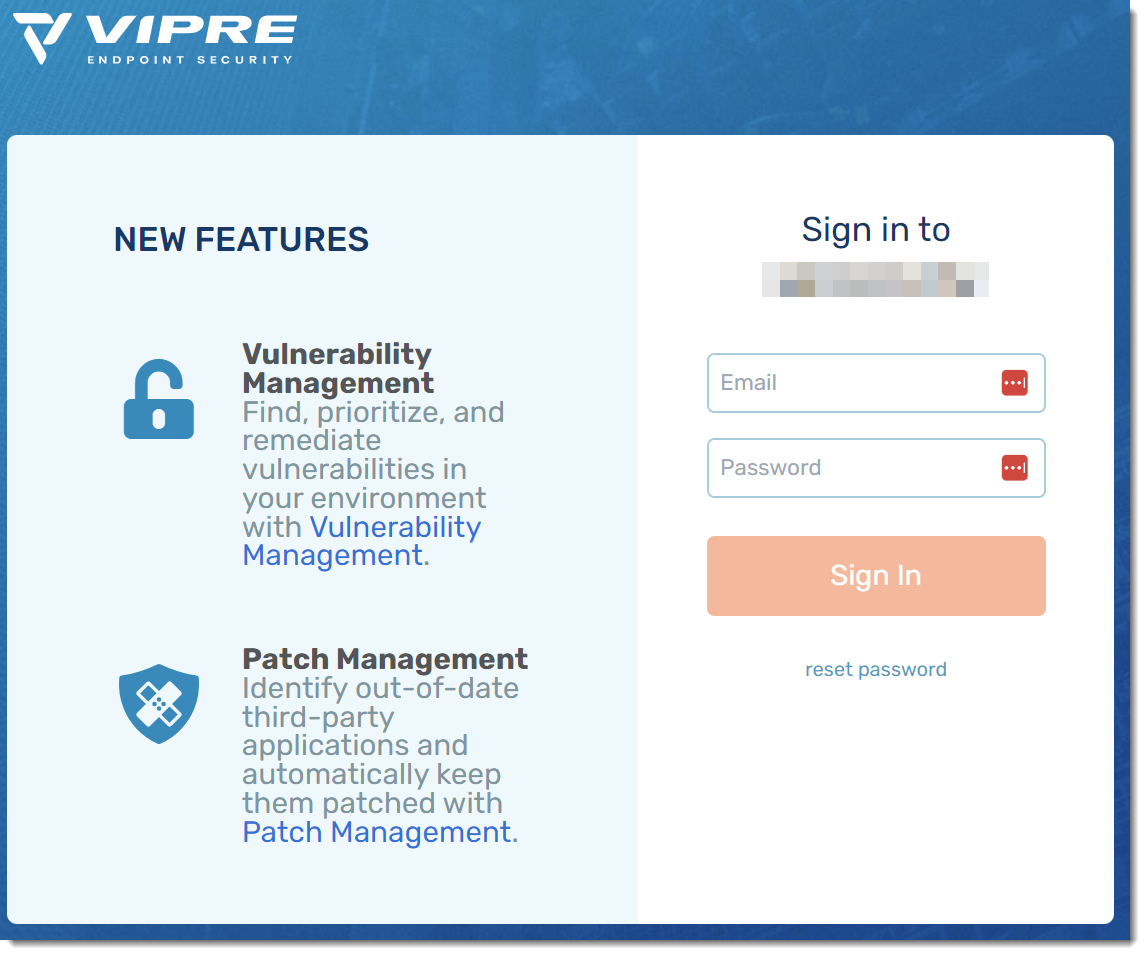
After you see the success message, you'll be automatically forwarded to the main login screen and asked to log in for the first time with your new administrator credentials. You will also receive an email with a link to your VIPRE Cloud instance and some additional useful information for your records.
In seconds, your new site is provisioned and ready to go.
Additional information
- The email address used to provision your site becomes the name of an administrative account for your VIPRE Cloud site. Additional administrators can be added and managed once you log in.
- Note that VIPRE will send certain critical alerts to all active administrators under certain circumstances
- At least one administrator with an actively monitored email INBOX should be configured at all times; otherwise, you might miss important alerts
- If you later find that you typed your password incorrectly, you can reset it by clicking reset password on the Sign in page. This will generate a reset email to the associated email address.
Troubleshooting your site setup
If you have any issues with your VIPRE Cloud site setup, try the suggestions below.
I didn't receive my Welcome to VIPRE Cloud email
If you have purchased VIPRE Cloud, or signed up for a trial, but have not received the Welcome email, try the following
- You should receive the Welcome email within 5-15 minutes after purchase or registration. Please allow several minutes processing time.
- Check your junk and spam email.
- Whitelist the domain myvipre.com with your spam filters. VIPRE Cloud uses the myvipre.com domain to send alert notifications, digests, and your custom provisioning link. We recommend you whitelist this domain to ensure messages from VIPRE Cloud get through.
- If you do not receive the email after 15 minutes, please visit https://myvipre.com/register/enter and enter your email address a second time.
- If you still have not received an email, reach out to your Sales contact or contact our Technical Support team. We will be happy to help you!
Clicking 'Continue Setup' in my Welcome to VIPRE Cloud email doesn't work
- It's possible your email security settings prevent you from clicking certain types of links in an email, such as buttons. If clicking the button doesn't work, you can copy the URL at the bottom of the email and paste it into a web browser to access your new VIPRE Cloud site.
Where do I enter my license key?
- VIPRE Cloud does not use a traditional license key, unlike VIPRE Endpoint Security (Server edition). If you have been provided a license key, please contact us. We can help determine what the key is for and make sure you have the correct entitlement.
- If you are using a trial of VIPRE Cloud and wish to purchase the full product, please see our VIPRE Cloud trial Purchase Information.
What's Next?
You have provisioned your site and are ready to start protecting your devices with VIPRE Cloud.
See: Protect your devices
-
Next Step
- Add Button
Protect your Devices
When you first use VIPRE Cloud you can choose to first deploy agents using default policies, or you can set up customized policies for use by your agents. This article explains these choices and guides you to your next steps.
First things first: You are not yet protected!
The first time you log in to VIPRE Cloud, you are asked if you'd like to Deploy Agents or Set Up Policies.
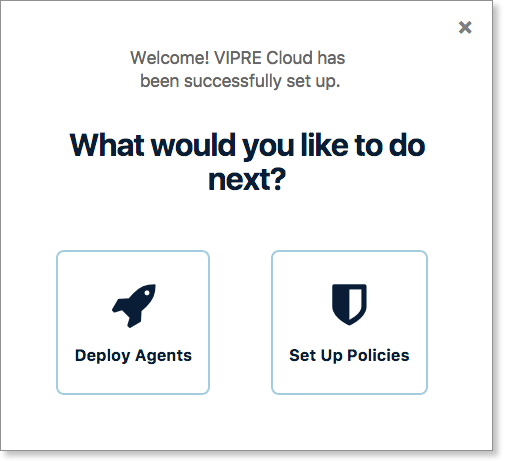
Important: Until you have deployed agents to your devices, VIPRE is not protecting them.
You must deploy an agent to a device to protect it. At this point, VIPRE is waiting on your decision, and you need to take further action before your devices are protected and managed by VIPRE.
About agents and policies
A brief overview of VIPRE agents and the concept of policies.
| What is an agent? | What is a policy? |
| An agent is the VIPRE software that runs on your endpoint devices. For more information, see Introduction to devices and agents. | A policy is a group of settings that controls the behavior of the agent on each device. For more information, see Learn about policies. |
Choose to deploy agents or set up policies first
This criteria will help you determine whether to (1) Deploy Agents or (2) Set Up Policies when you first use VIPRE Cloud.
1. Deploy Agents first
If you're eager to protect your devices with our recommended settings, this is the best option.
Reasons to choose Set Up Policies first
- You want to review any settings
- You are not deploying to a test environment
- You want to customize the end user experience such as whether their system automatically reboots after agent install
Next step for deploy agents
If you are choosing to deploy agents using the default policies, your next step is to follow the steps in this article: Deploy agents.
2. Set Up Policies first
If you'd prefer to review and customize policies before protecting your devices, this is the best option.
Reasons to choose Deploy Agents first
- You're OK using our default policies to start with
- You're deploying to a test environment: it's fine if something unexpected happens
Next step for set up policies
If you are choosing to set up a custom policy before deploying protection to a device, your next step is to see this article: Learn about policies.
Troubleshooting
Can I bring back the "first run" screen?
Yes. Copy and paste the following URL, replacing sitename with the name of your site:
https://sitename.myvipre.com/home/first
-
Next Step
- Add Button
Additional Resources
Now that you've finished migrating from VIPRE Small Office to VIPRE Cloud, here are some additional resources for learning more about how VIPRE Cloud works.
You're Done! 
You now have your VIPRE Cloud web console set up, VIPRE agents deployed onto your office computers, and (optionally) have set up your policies to mimic the settings you had with VIPRE Small Office. You can now rest assured that you have the best malware protection available for your systems!
Check out the VIPRE Cloud Learning Path
To learn more about VIPRE Cloud, we recommend following the Learning Path through the VIPRE Cloud Basics Guide to take you through some key features of VIPRE Cloud.
As you probably noted, there are a ton of additional policy options and settings that you can play with if you want. For the most part things are pretty self-explanatory, but feel free to read through our complete VIPRE Cloud documentation to your heart's content. You may also want to log in to your web console every once in a while just to check on things - the Dashboard is a good place to start.
Support
Last but not least, if you have any issues with VIPRE Cloud, contact our Technical Support team for assistance, and we'll help you out. Enjoy!