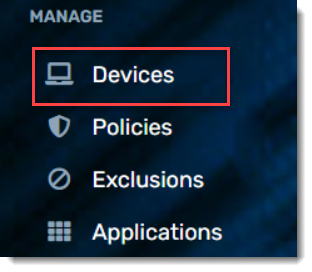
Throughout VIPRE EDR, device refers to your endpoints and their health; agent refers to the VIPRE software on your endpoints and the health of that software. Devices are protected by VIPRE with agent software. When first implementing VIPRE in your environment, the VIPRE agent software needs to be deployed to each of your devices in order to protect them.

View Devices
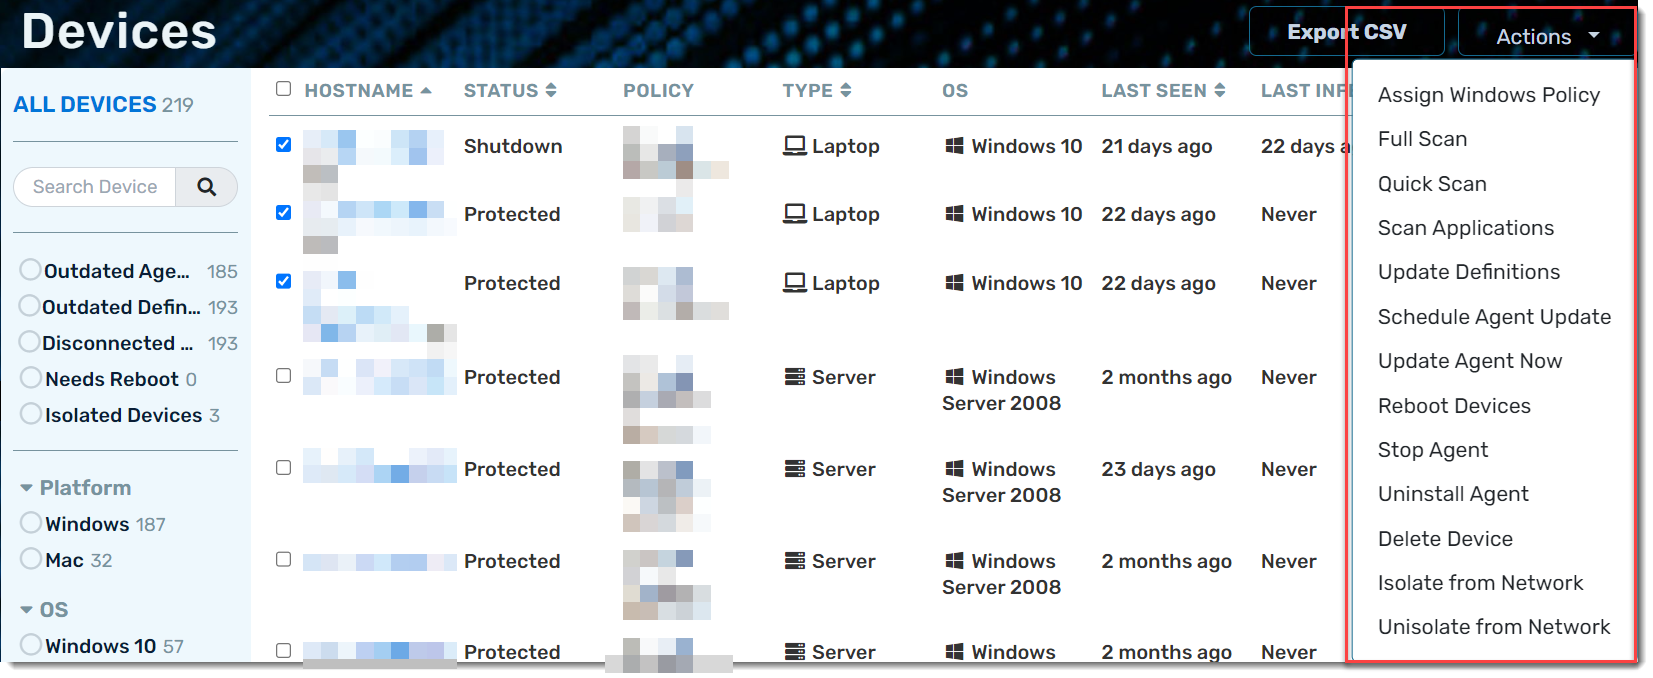
The Devices page shows you an overview of every device that has checked in with VIPRE. You can quickly scan the columns to learn many details about the behavior of your devices. For example, you can see the device name, whether it is protected, which policy is applied to it, what type of device it is, the Operating System version, agent version, etc.
Device Actions
Selecting the checkbox next to a device, or a group of devices, will give you access to the Actions drop-down menu in the top left, which includes the following actions: Assign Windows Policy, Full Scan, Quick Scan, Scan Applications, Update Definitions, Schedule Agent Update, Update Agent Now, Reboot Devices, Stop Agent, Uninstall Agent, Delete Device, Isolate from Network, and Unisolate from Network.

Filtering Devices
Because you can potentially have hundreds (or thousands) of devices on your site, it is often necessary to filter the list to limit the visible information. You can select filters to focus your view, and very quickly find devices that need action, are outdated, are disconnected, or have some other problem.
Exploring Device Details
Once you have located a device you'd like more information on, simply click the name of the device to drill down into it. From here, you're taken to the device details, shown on the Summary tab.

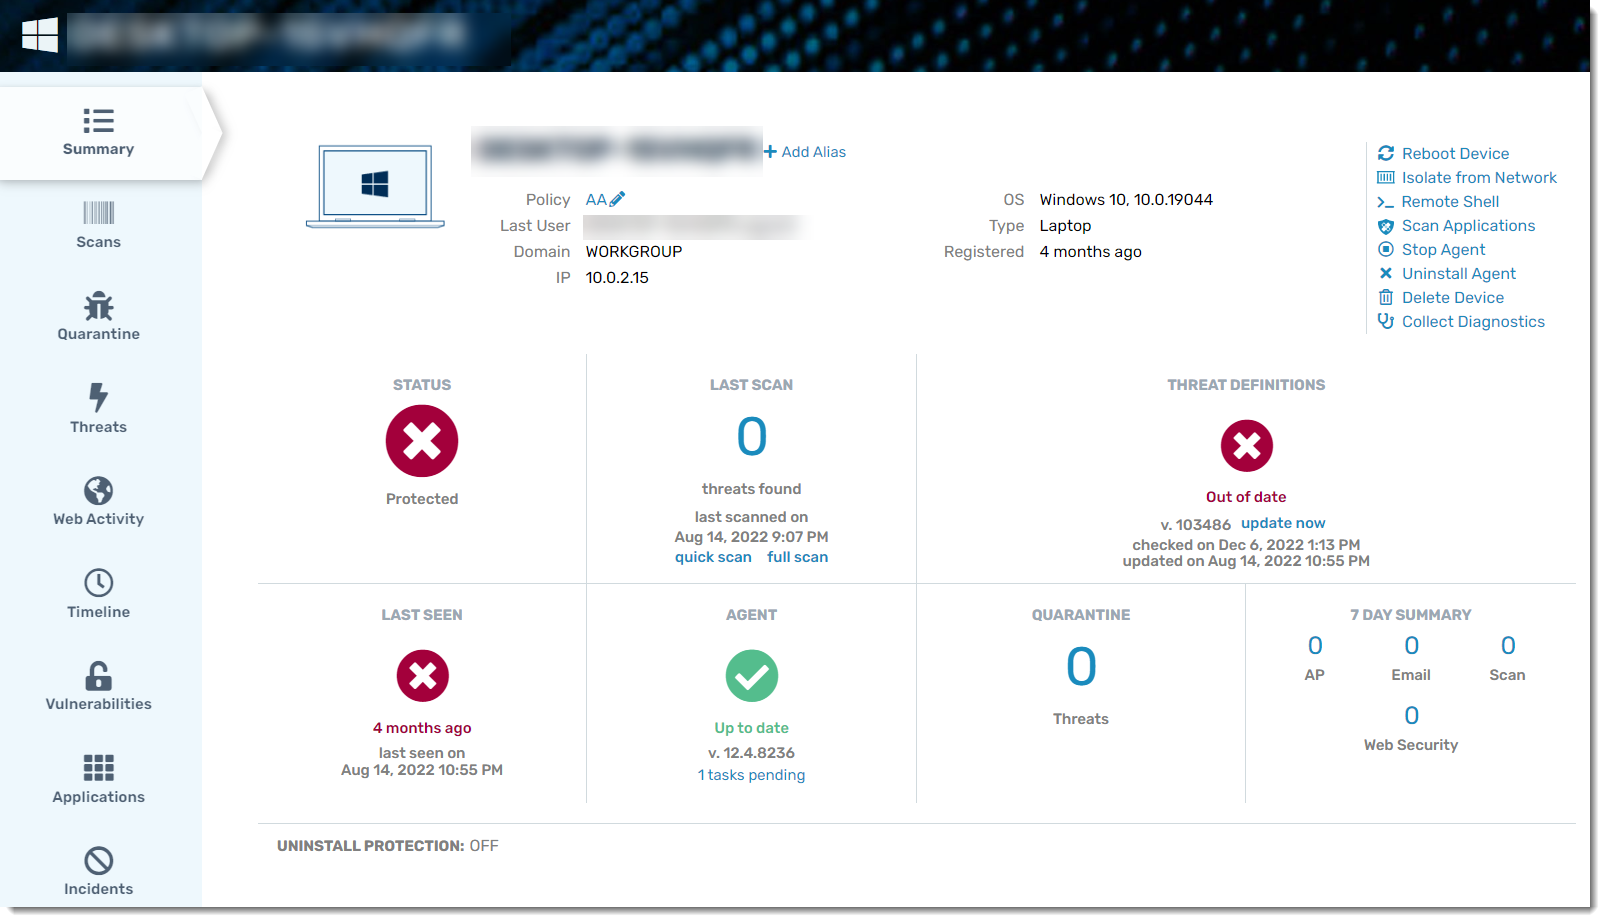
The device's summary screen is like a mini-dashboard for the selected device. The STATUS section in the top left shows an immediate all-in-one status of the device. Is it good to go, or does it need looking into?
The other sections of this screen provide further key information: Last Scan, Threat Definitions, Last Seen (the last time the device checked in), agent software version – all the top items you'll want to check when determining at a high level if a device is in performing properly.
Along the top, you have some network and admin-level items: Domain, IP address, OS. The quick-action links in the top right give you single-click common actions to perform on that device: reboot the device, isolate the device from the network, connect to the device remotely via Shell, scan applications on the device, stop the agent software, uninstall the agent software, delete the device and collect diagnostic information.
The tabs on the left show even more information for each category: Latest scan details, items in quarantine on this device, threats found, and a super-useful vertical timeline that shows the history of the device and more.
From this screen, you can also assign an alias to the device. Refer to Related Articles for more information on using aliases.